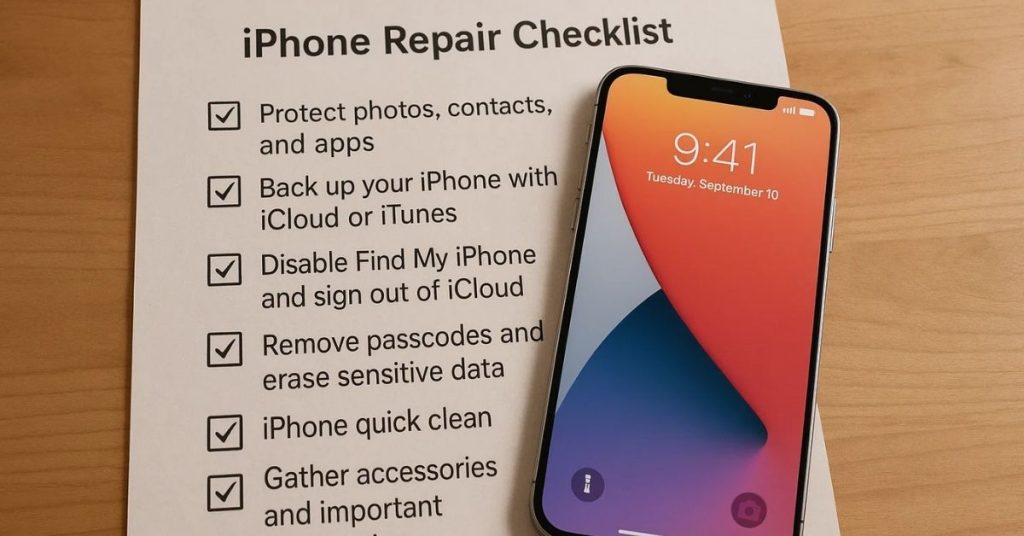
Running backupIf your iPhone needs repair in Australia, a little preparation helps you avoid data loss and ensures technicians can test your device quickly. Backing up your data and disabling security features before handing over your phone makes the repair process smoother. Use this checklist to help you get your iPhone ready for Fix My Mobile or any repair service.
Why preparing your iPhone before repair matters
Preparing your iPhone protects your personal data and reduces repair delays. A device with active locks or missing backups can stop a repair team from diagnosing faults properly. Having your iPhone backed up means you won’t risk losing important information. For example, a customer who backed up photos before a screen repair avoided permanent loss when the device had to be reset.
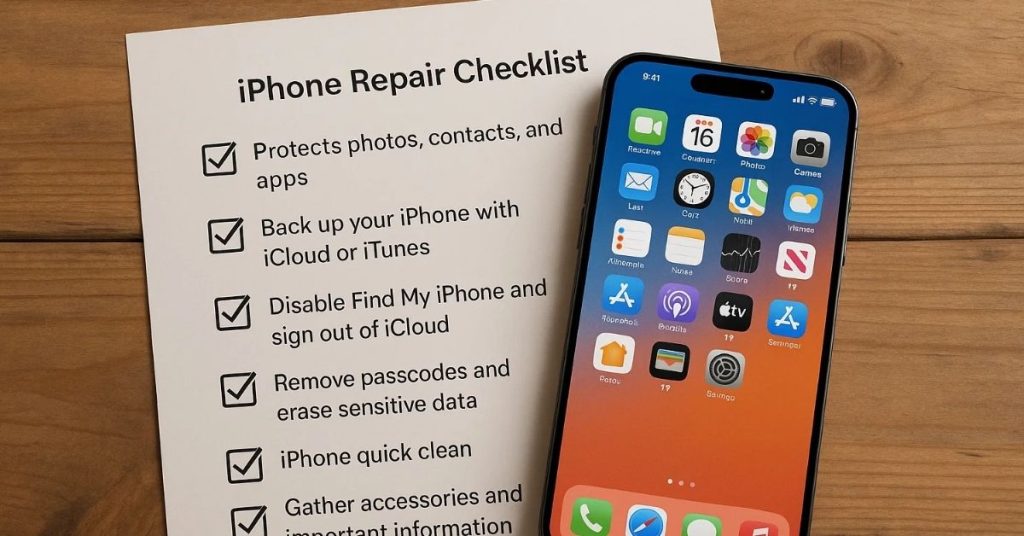
Checklist to help:
- Protects photos, contacts, and apps.
- Lets repair technicians test hardware fully.
- Reduces chances of repeat visits.

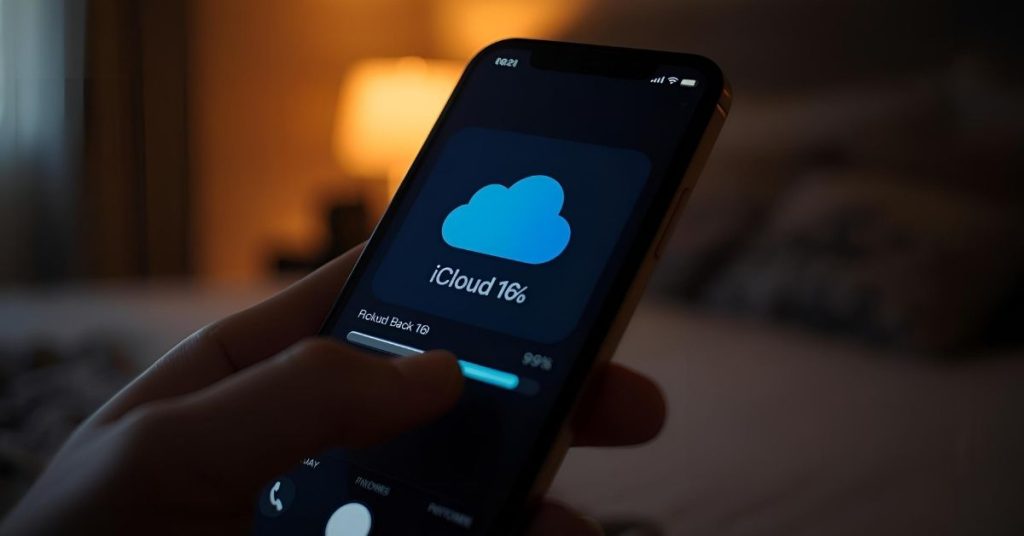
Back up your iPhone with iCloud or iTunes
Backing up your data ensures you don’t lose photos, messages, or app files. Using iCloud, you can connect your iPhone to Wi-Fi, go to Settings, tap your name, then select iCloud Backup and Back Up Now. With iTunes, connect your iPhone to your computer, select your device, and choose Back Up. Backups can also include Apple Watch data if paired.
Ways to back up:
- iCloud: Wi-Fi required, automatic daily backups.
- iTunes: Local copy on computer, can encrypt backups.
- Third-party repair service note: Always back up before handing over your phone.
How do I back up with iCloud?
Connect your iPhone to Wi-Fi, go to Settings > [Your Name] > iCloud > iCloud Backup, then tap Back Up Now. Leave the phone on Wi-Fi until complete.
How do I back up with iTunes?
Connect your iPhone to your computer, open iTunes, select the iPhone icon, and click Back Up Now. Use encrypted backup to save health data.
What if I can’t access my phone?
If your iPhone won’t turn on, you may not be able to back up. In that case, discuss options with Apple Support or your repair team.
Do I need to erase all data first?
No, but if asked by your repair provider, erase data only after confirming your backup is complete and accessible.
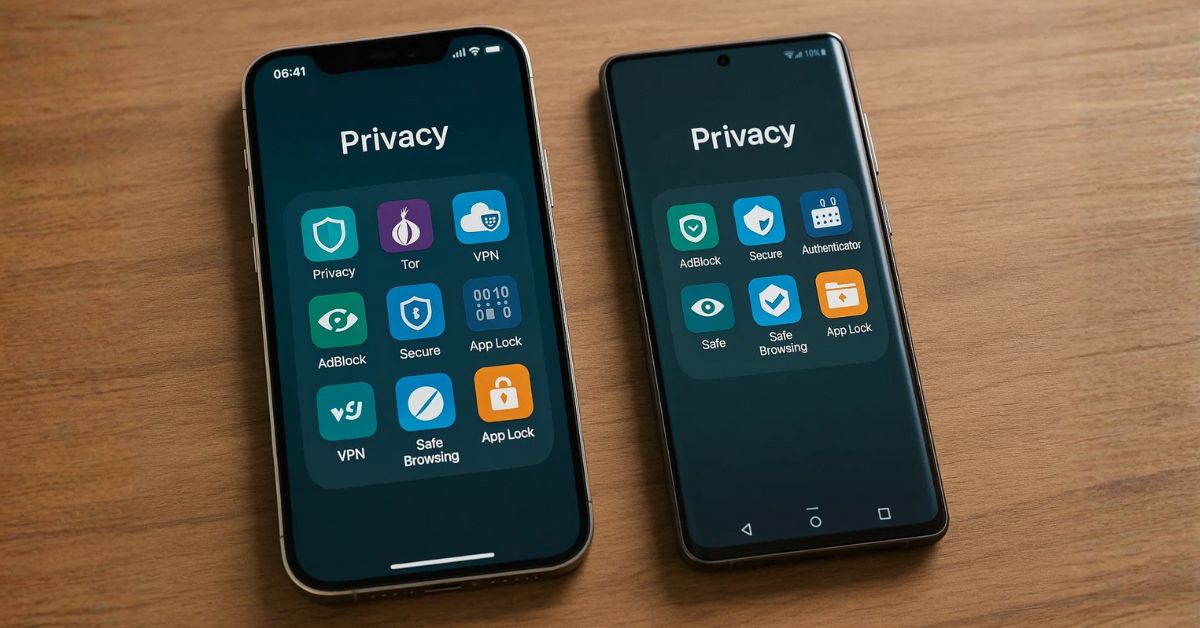
Disable Find My iPhone and sign out of iCloud
Find My iPhone must be disabled before technicians can run diagnostics or replace parts. Go to Settings > [Your Name] > Find My > Find My iPhone, and toggle it off. Enter your Apple ID password to confirm. Then sign out of iCloud to ensure the device can be activated again after service. A customer who forgot to disable Find My iPhone faced a two-day delay because technicians could not proceed.
Quick steps:
- Open Settings, tap your name.
- Select Find My iPhone, toggle off.
- Sign out of iCloud with Apple ID.
Remove passcodes and erase sensitive data
Removing passcodes and Touch ID or Face ID access lets the repair team to diagnose issues without restrictions. Erase sensitive data if required by your provider, especially when using a third-party repair service. This ensures your privacy is maintained. For example, a user removed their passcode before repair, which allowed technicians to test call and camera functions immediately.
Checklist to help:
- Remove passcode or biometric locks.
- Erase sensitive files after backup.
- Confirm backup is retrievable.
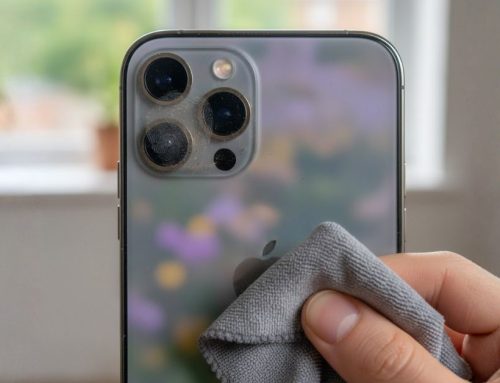
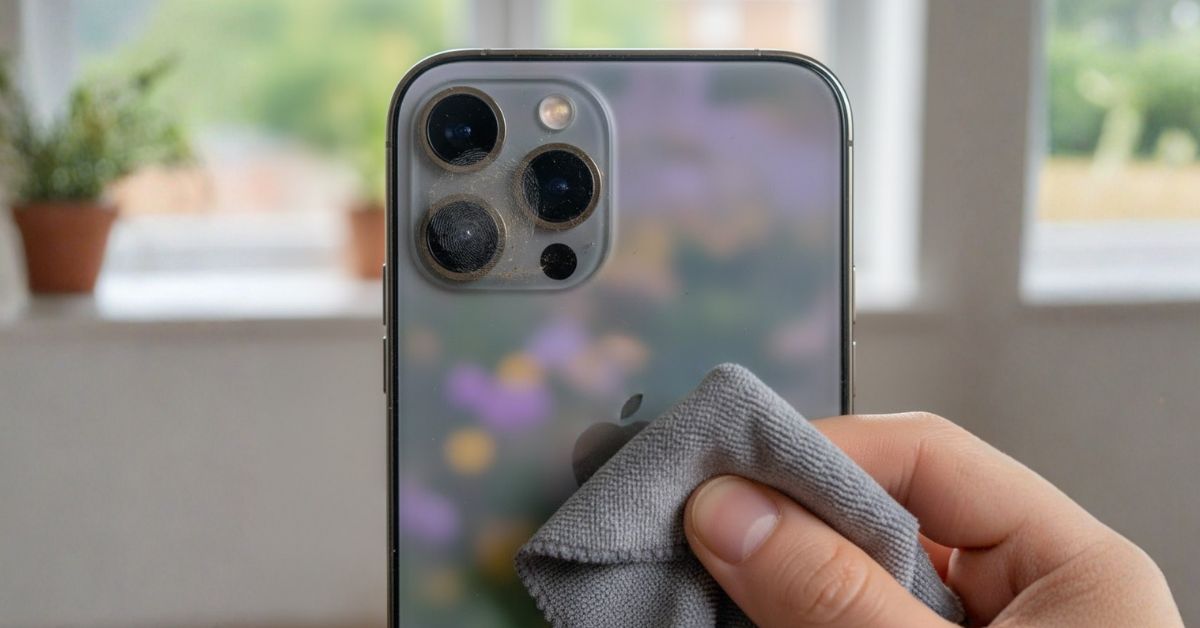
Give your iPhone a quick clean
A quick clean to remove any dirt or smudges makes handling safer for repair staff. Use a soft, lint-free cloth slightly dampened with water. Do not use harsh cleaners. Cleaning helps the repair team identify cracks or scratches that may affect repairs.
Simple cleaning:
- Wipe screen and case gently.
- Remove dirt from charging port with dry brush.
- Avoid liquids near openings.
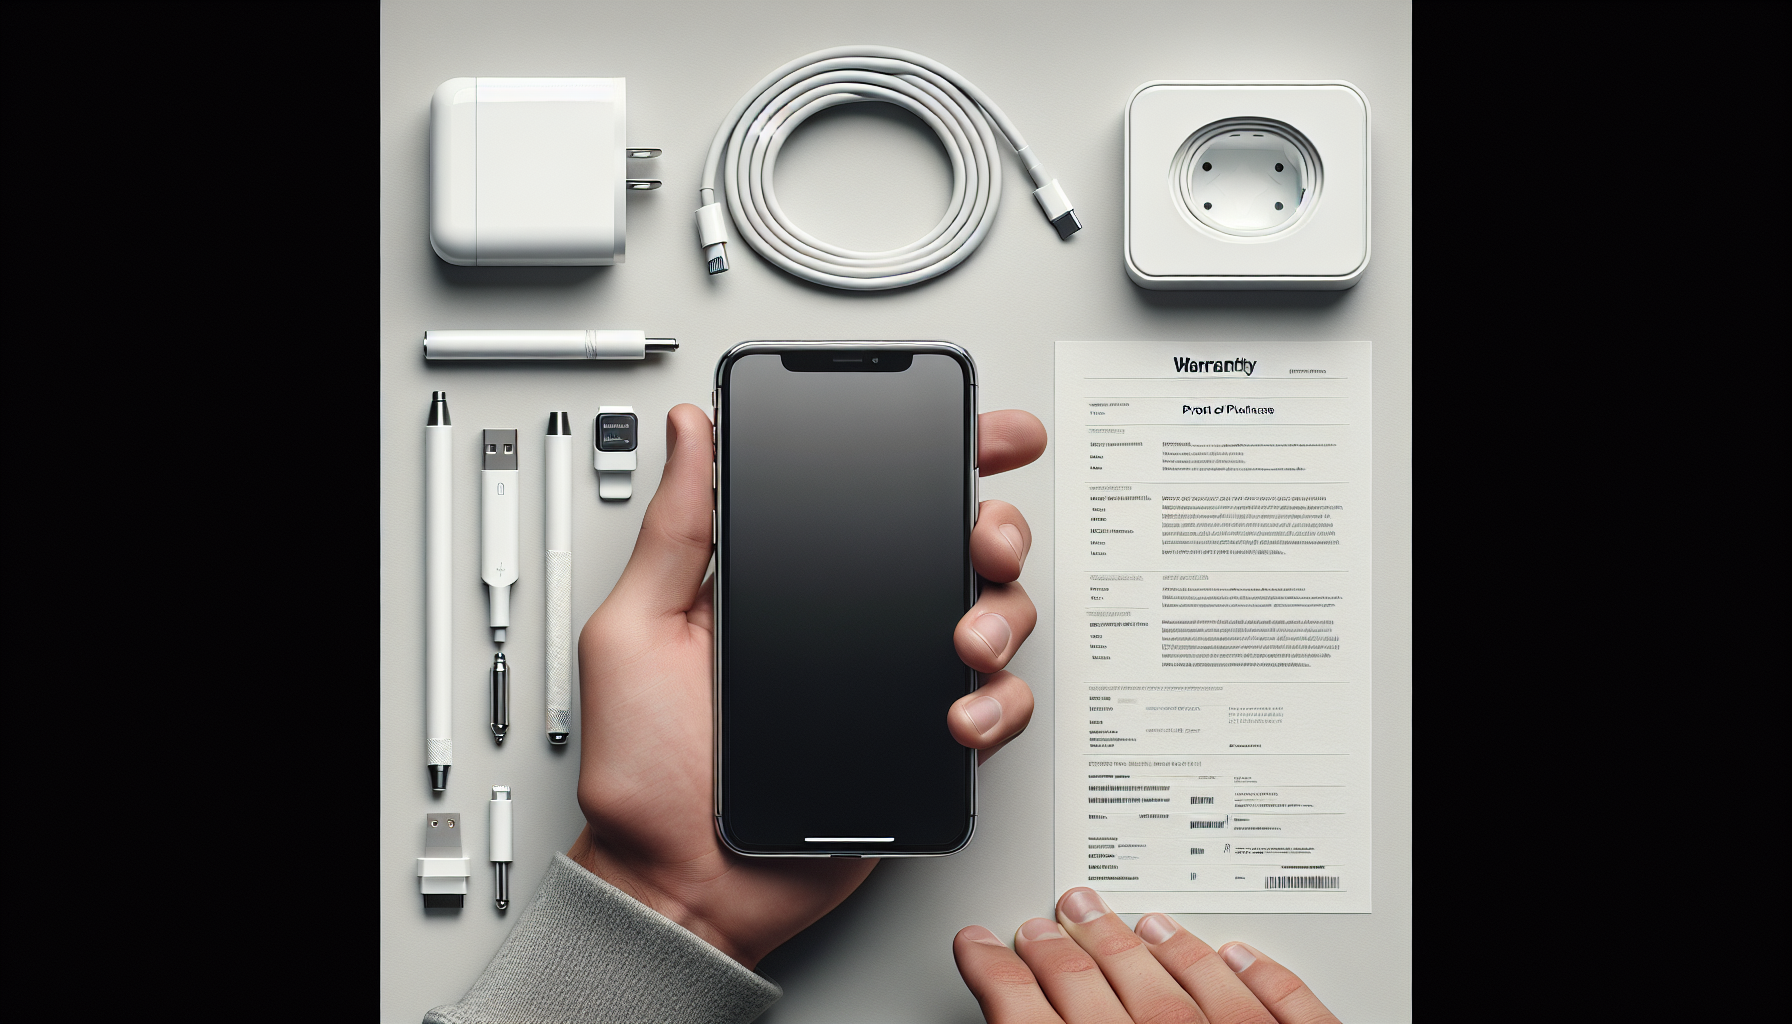
Gather accessories and important information
Handing over your device with the right accessories and documents helps avoid delays. Bring a charger cable if testing charging issues. Keep your Apple ID, proof of purchase, and warranty details handy. For example, knowing your iPhone is still under warranty can change whether you use an Apple Store or third-party service.
What to bring:
- Charger cable if charging is the issue.
- Proof of purchase or service record.
- Apple ID details if required.
When this may not be the right fit
If your iPhone is still under warranty, using an Apple Store or authorised Apple Support provider may be the better option. Third-party repair services are not always covered under Apple’s terms and conditions. Always check the terms and conditions before choosing a provider.

How to judge if you need this now or later
If your device powers on but has a minor issue, you may delay repairs until convenient. However, if your iPhone cannot connect, charge, or is unsafe to use, seek repair immediately. Losing access to backed-up data is less urgent than a phone that won’t power on.
Where this connects to other repair services
Preparing your iPhone properly makes every repair process smoother, whether it’s a screen replacement, battery issue, or water damage service. Fix My Mobile offers a range of repair services across Australia, and being ready helps repair technicians test your phone efficiently. Explore more about our phone repair services to fix the issue quickly.
Final checklist before handing over your iPhone:
- Back up data with iCloud or iTunes.
- Disable Find My iPhone and sign out of iCloud.
- Remove passcodes and sensitive data.
- Clean to remove any dirt or smudges.
- Gather accessories and important information.
Ready to fix the issue? Contact Fix My Mobile today to book your iPhone repair and let our repair team handle the rest.

