If the camera lens on your iPhone is cracked or damaged, photos will haze and the camera module can take on dust or moisture. This guide explains the replacement process for any Apple iPhone model, including Pro and Pro Max variants, and covers DIY back camera lens replacement, professional replacement service, tools, parts, and protection. Whether it is an older 12 Pro or a new iPhone, you can repair with care and keep your photos sharp.
What breaks and why the camera lens matters
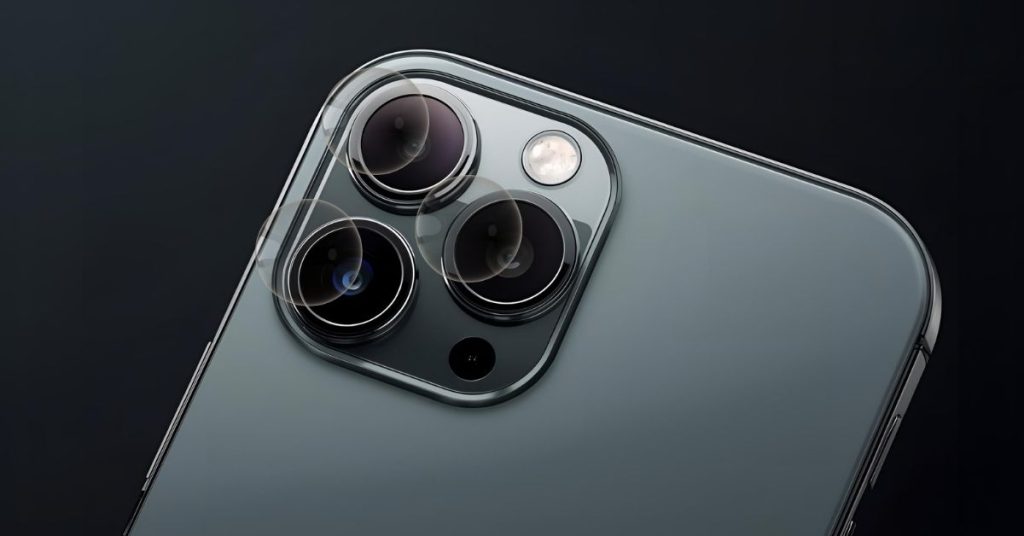
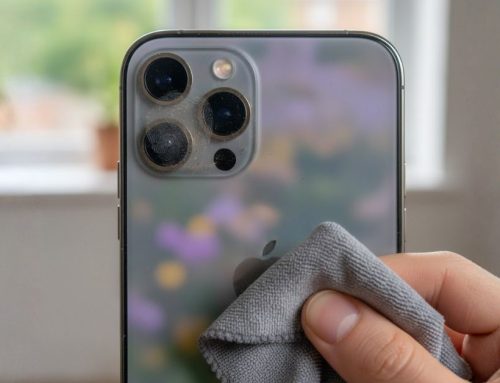
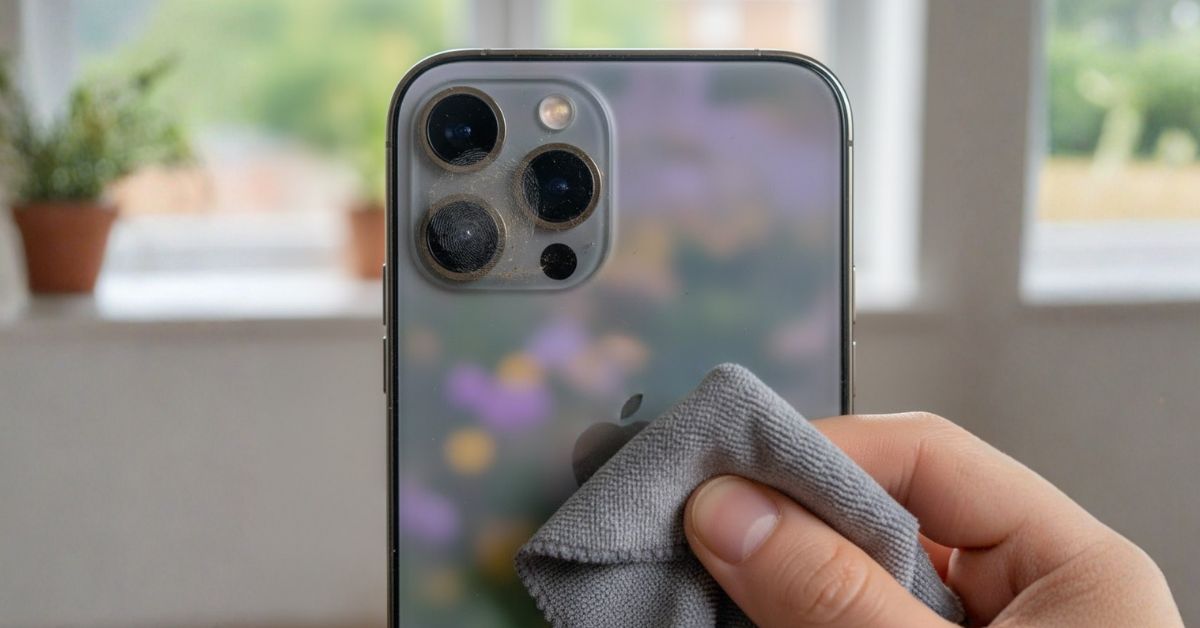
The visible ring of glass on the iPhone back camera lens is a protective cover, not the internal optics. When the camera glass lens cracks, light scatters, dust enters, and image quality suffers. Replacing the glass restores clarity and shields the camera module.
A small chip can bloom into a smashed rear camera lens, and shards may scratch the camera. Acting early limits contamination and avoids a full module swap later.
Signs you need camera lens cover replacement
- Lens cracked or chipped around the ring
- Night photos show streaks, haze or ghosting
- Dust spots or focus hunting after a drop
Example: A broken iPhone with a tiny crack takes washed-out night shots. A clean replacement lens fixes flares and focus wobble.

Repair options across iPhone models
You can replace only the back rear camera lens glass, replace the camera module, or use an authorised provider that re-seals the housing. The right path depends on warranty, budget, and the state of the camera.
Paths to repair
- Apple or authorised provider: Use genuine Apple parts, re-seal, and test optics. Best for water-resistance and warranty alignment.
- Specialist mobile phone technician: Camera glass lens replacement or module swap; ask about adhesive, dust control and test shots.
- DIY with a repair tool kit: Lens glass replacement for iPhone using a model-matched replacement lens, ideally with pre-installed adhesive.
Model notes without the jargon
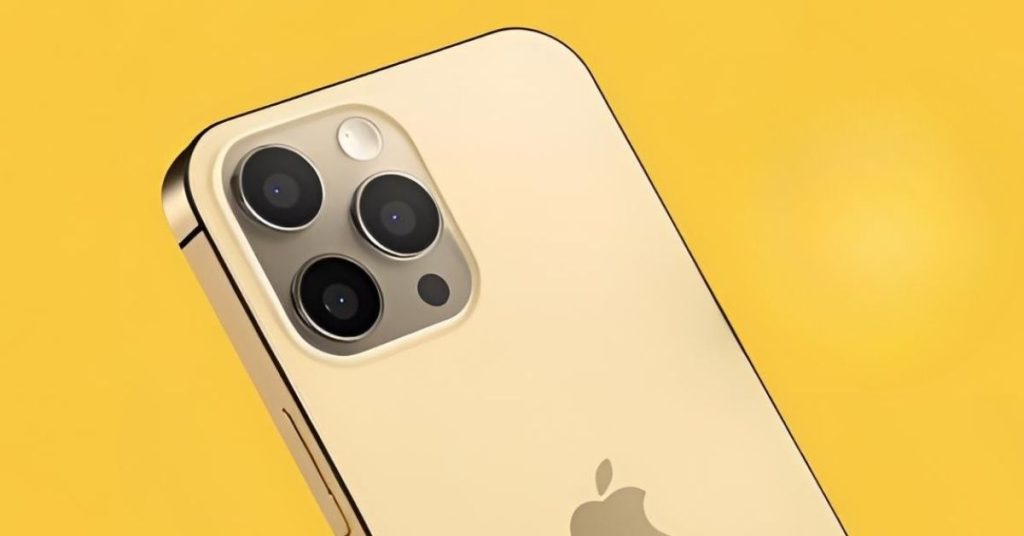
- Works across iPhone 12 Pro, 13 series, 14 Pro and Pro Max, and iPhone 15 models. Search parts by exact model name, such as iPhone 14 Pro camera lens or iPhone 15 camera lens, to match height and colour.
- Pro Max lenses are larger; avoid generic glass packs that sit proud. If the glass pack is the highest point above the ring, halos can appear.
Quick answers
- Can I replace only the glass? Yes. Many shops perform camera glass lens replacement without removing the module.
- Does warranty apply? Coverage varies; accidental damage may attract a fee. Confirm AppleCare+ before work.
Prepare your iPhone before any repair
Good prep protects your data and speeds check-in whether you choose DIY or a replacement service.

Pre-repair checklist
- Back up: iCloud or connect the iPhone to a computer for an encrypted Finder or iTunes backup.
- Disable Find My iPhone: Settings > your name > Find My > Find My iPhone.
- Remove your SIM and case: Make access easy if sending it for repair.
- Photograph the damage: Helpful for repair policies and proof.
- Tape over loose shards: If the camera lens is broken, lightly tape to stop debris; do not pick at glass.
Example: You need to repair your iPhone but you are travelling. You back up, switch off Find My, tape the lens, and book the earliest appointment.
DIY camera lens cover replacement with a repair tool kit
A careful DIY can be cost effective, but you must protect the camera, manage heat, and align the new glass squarely. Use high-quality replacement parts and follow an installation manual from a reputable source.
Repair tool kit essentials
- Model-specific replacement rear camera lens glass (e.g., “replacement lens for iPhone 12 Pro” or “14 Pro camera lens glass”)
- Glass lens replacement with pre-installed adhesive, or matching liquid adhesive
- Heat source (controlled hot air or warming pad), plastic picks, fine tweezers
- Camera shield or high-temperature tape, dust blower, lint-free swabs, isopropyl alcohol
- Safety glasses and microfibre cloth
Replacement process overview
- Power down and cover. Tape the smashed area; keep dust away.
- Mask the module. Fit a shield so debris cannot touch optics.
- Warm the glass. Soften adhesive around the camera glass.
- Remove the broken pieces. Use plastic picks only; do not use a metal pry. Lens glass is brittle and metal tools can gouge the ring.
- Clean the seat. Lift old adhesive, alcohol-wipe, and use a blower to clear dust.
- Test-fit. Dry fit to confirm height and colour match to the ring.
- Install. Peel the pre-installed adhesive, align perfectly, and press evenly.
- Cure and test. Open Camera; test night mode and zoom for light leaks.
Pass or pause criteria
- Proceed: Seat is spotless, alignment exact, no dust or wobble.
- Stop: Ghosting or light leaks persist; seek a professional replacement service.
Example: A piece camera lens glass pack lists multiple rings. You choose the exact part number for your model and avoid a generic set that would sit too high.

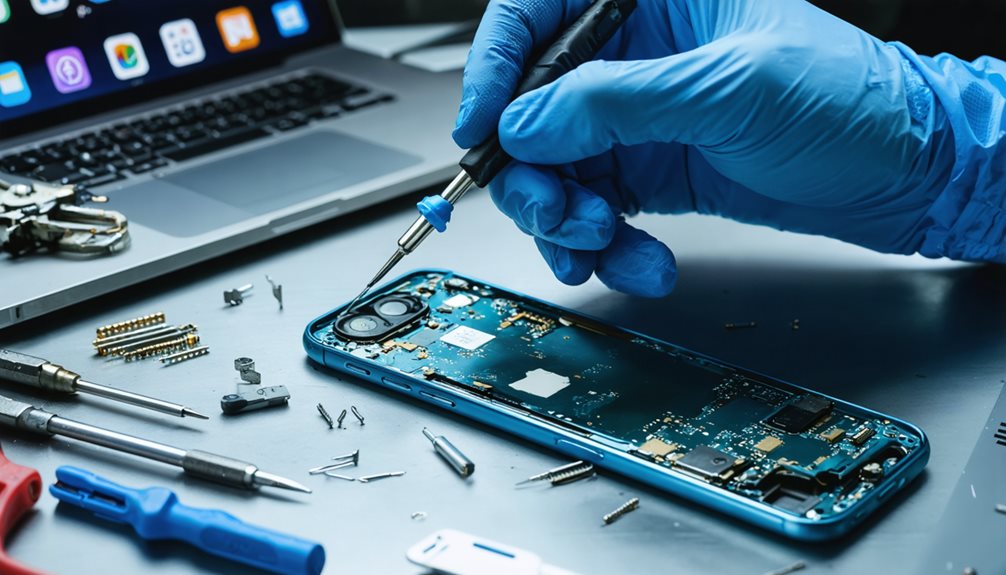
Professional replacement service explained
A good shop inspects the damaged camera, shields optics, removes shards, installs matched pro camera glass, and checks dust and flare. Many provide step photos like an installation manual and will repair your iPhone with care.

What to ask a technician
- Do you use high-quality replacement parts for my Apple iPhone model
- Is the adhesive pre-installed and light-tight around the ring
- Will you re-seal and test autofocus, edge sharpness and night flare
- What workmanship warranty covers this camera lens cover replacement
Example: Your camera lens cracked on a weekend. A Monday booking replaces the glass only; the tech shows before-and-after night shots to prove the fix.
Costs and parts quality considerations
Costs vary by model and provider; module swaps cost more than glass-only work. Cheaper parts can degrade photos if thickness or coating is off.
Parts checklist
- Model-matched back camera lens or rear camera lens glass
- Optical clarity and coating comparable to original
- Adhesive that blocks stray light
- Option to use genuine Apple parts when available
Tips
- Avoid off-brand packs where the glass protecting the lens sits proud of the ring.
- If a new iPhone is coming soon, a glass-only repair can be a cost-effective bridge.
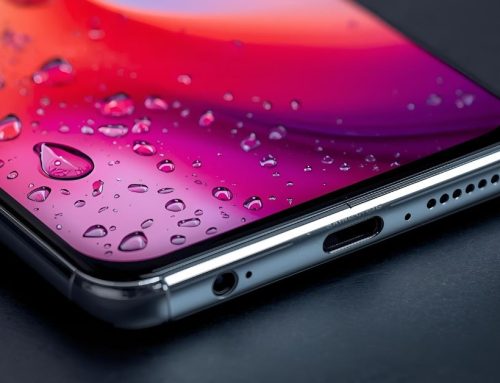
Protect the new lens after repair
Protecting my camera starts with a good case and smart habits. A slim camera lens protector can help if you often drop your phone.
Simple protection
- Case with a raised ring to shield the iPhone back camera lens
- Avoid placing the camera glass on rough surfaces
- Consider a thin, model-specific lens protective cover or tempered glass
Example: After a clean fix, you add a lens protector and stop pocketing keys with your phone.

When this may not be the right fit
Skip DIY if images stay hazy, moisture is visible, or shards keep falling. A damaged camera module needs a full replacement, not just glass. If your phone is under warranty or AppleCare+, third-party work might affect coverage.
How to judge urgency
Act now if photos show flares, dust spots, or loose shards. A taped, tiny chip can wait a short time, but continued use risks dust ingress.
Decision guide
- Cracked or damaged with flares: Repair today.
- Smashed rear camera lens with loose glass: Power down and book now.
- Hairline chip, clean photos: Book soon and avoid further drops.
Where this connects next
Camera glass damage often appears with back glass or screen repairs. Combine visits to reduce downtime. Always back up, then disable Find My and remove your SIM if you are sending it for repair.
Next steps
- Choose DIY with a proper repair tool kit, or book a professional replacement service
- Use genuine Apple parts or high-quality replacement parts from reputable suppliers
- After repair, test night mode, zoom lenses, and portrait edge sharpness


