Fix My Mobile helps people in Australia book fast iPhone repair across common faults. Our technicians diagnose faults and replace parts every day. This checklist shows how to prepare your iPhone, protect personal data, and avoid delays at any repair centre or service provider. If you’d like us to take it from here, call or book online and we’ll confirm your appointment time.
Prepare your iPhone for repair
A short pre-appointment routine protects your data and speeds up diagnosis for any technician. Aim to back up, turn off security features you can safely disable, and clean the device so faults are easy to spot.
Wipe the device with a soft, lint-free cloth and remove bulky cases so the repair provider can assess the frame. Note any issues you’ve observed such as random shutdowns, swollen battery, or touch glitches. Write down your passcode if you’re comfortable unlocking in store; many tests require on-device access. If you use iPad or Apple Watch, check they’re unpaired if you plan to send your device for service.
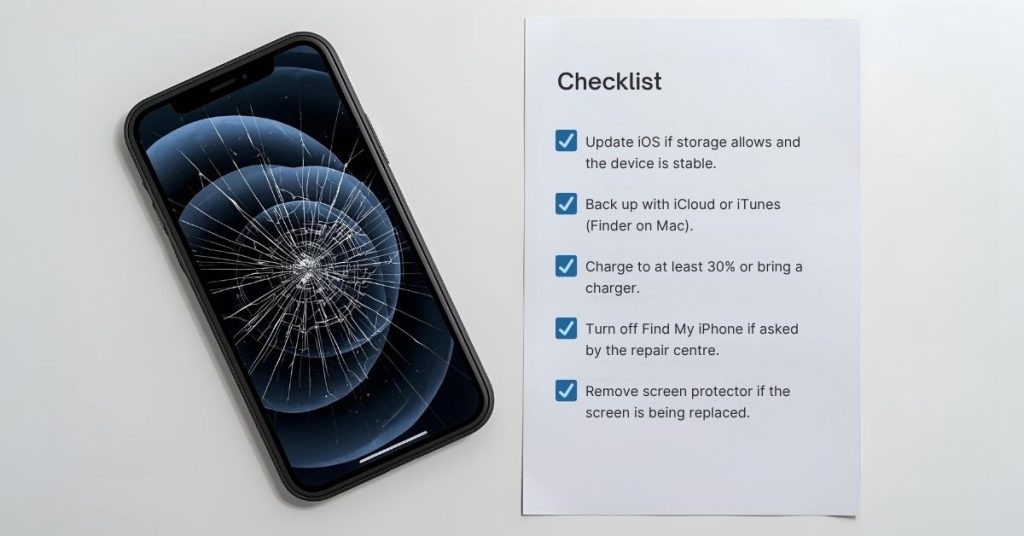
Quick prep list
- Update iOS if storage allows and the device is stable.
- Back up with iCloud or iTunes (Finder on Mac).
- Charge to at least 30% or bring a charger.
- Turn off Find My iPhone if asked by the repair centre.
- Remove screen protector if the screen is being replaced.
Consider a quick scenario: if your iPhone won’t power on, skip updates and focus on data backup attempts via iTunes/Finder during triage.

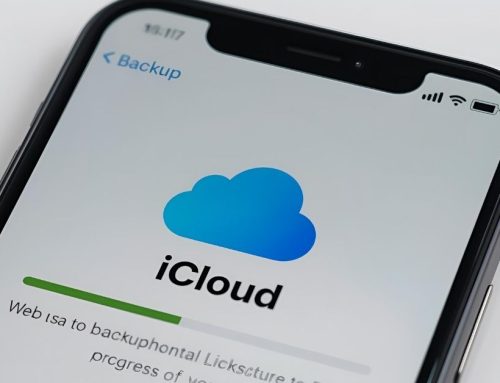
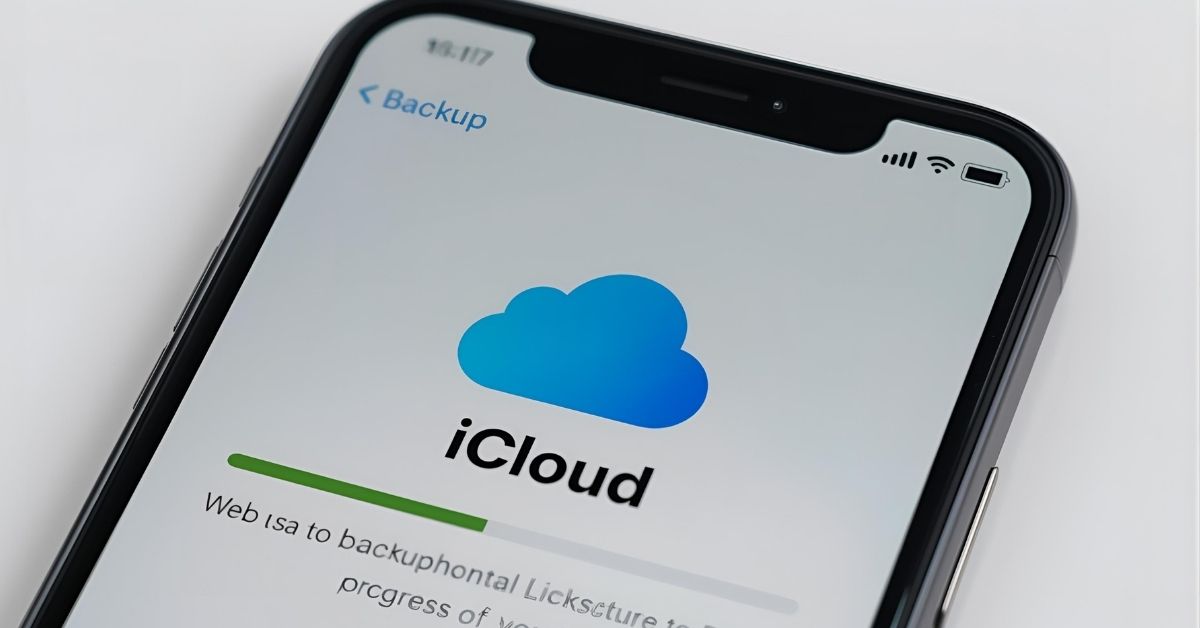
Back up your iPhone with iCloud or iTunes
A current backup lets you restore your iPhone after parts and repair work or device replacement. Use iCloud on Wi-Fi or a computer backup with iTunes/Finder when storage is tight.
On iPhone, go to Settings > [your name] > iCloud > iCloud Backup and tap Back Up Now. On a Mac or PC, connect the device, open Finder or iTunes, choose the iPhone, and select Encrypt local backup to include Health and Apple Wallet data. Confirm the time stamp once complete. For iPad, the steps are similar if you’re servicing multiple mobile devices.

Backup methods at a glance
| Method | Needs | Includes | Good when |
|---|---|---|---|
| iCloud | Wi-Fi + iCloud storage | Photos, app data, settings | You prefer automatic nightly backups |
| iTunes/Finder | Mac/PC + cable | Full image incl. Health if encrypted | You need a complete local copy |
| Third-party photos | App + Wi-Fi | Photos/videos only | You only care about media |
To decide: if your iCloud storage is full and time is short, do a quick encrypted computer backup before your appointment.
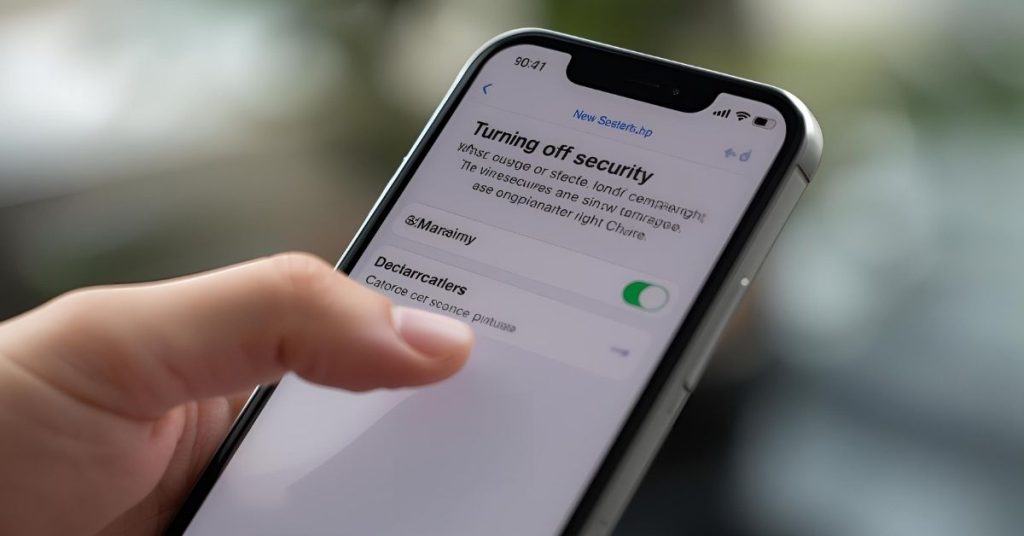
Turn off security features and remove personal data
Technicians often need to test parts after repair; disabling certain features speeds up the process. Only proceed when you’ve backed up.
- Turn off Find My iPhone in Settings > [your name] > Find My; you’ll need your Apple ID password.
- Switch off your passcode and Face ID/Touch ID temporarily if your repair provider requests it for diagnostics.
- Sign out of iCloud if you are sending your device away or authorising device replacement,
- then erase all content and settings:
Settings > General > Transfer or Reset > Erase All Content and Settings.
Definitions
- Find My iPhone: Anti-theft lock that blocks activation after repairs; technicians cannot complete service while it’s enabled.
- Activation Lock: Ties the device to your Apple ID; removing it requires your credentials.
A quick scenario: if your display is broken and you can’t enter your passcode, bring your Apple ID details so staff can help disable Find My on another device.
What to bring to the repair centre or service centre
Having the right items helps the technician verify faults and complete the repair in one visit. Pack essentials in a small pouch you can hand to the counter team.
Bring your iPhone, a charger or cable that you actually use, and any accessories linked to the fault, such as a MagSafe battery pack or third-party charger. Bring your SIM card or eSIM details if you’re changing devices. Have your Apple ID and passcode written somewhere secure. If you use Apple Pay, be ready to re-add cards after service. For an iPad or Apple Watch booking, the same basics apply.
Hand-off checklist
- Device, SIM or eSIM info, and passcode.
- Known fault notes and times it occurs.
- Proof of purchase if you’re checking Apple Limited Warranty or AppleCare+.
- Protective case and screen protector (technician may remove and return).
- Contact details for updates or approval calls.

Battery, screen and parts and repair expectations
Understanding common repairs avoids surprises. Batteries degrade with charge cycles; screens fail from impact or liquid; cameras and speakers can fail from dust or wear.
A technician usually runs a visual inspection, battery health check, and post-repair tests. Replacement screens should restore touch and colour accuracy; quality varies between genuine Apple parts and compatible third-party repair parts. Battery replacement should return normal runtime if no background software issue exists. Water damage adds time and cost due to corrosion cleaning.
Typical repair scope
- Battery service: Replace electric battery, reseal, run calibration.
- Screen repair: Replace display assembly; transfer sensor array where applicable.
- Charge port: Clean or replace; rule out cable issues.
- Camera: Replace module; run focus tests.
To decide: if you rely on Face ID, ask your repair provider which screen parts retain Face ID function on your model.

Decide where to get your iPhone serviced
You can book an Apple Store Genius Bar, an Apple Authorised Service Provider, or a trusted independent repair centre like Fix My Mobile. Each option balances speed, cost, and parts type.
Authorised channels can use genuine Apple parts and process AppleCare+ claims; appointments may be limited. Independent repair providers can be faster and cost-effective, with compatible or genuine parts depending on sourcing. Mailing your device to a central service centre trades time for convenience.

Service options comparison
| Provider | Pros | Consider |
|---|---|---|
| Apple Store Genius Bar | Ties to Apple Support, AppleCare+ processing | Appointment availability varies |
| Authorised service provider | Genuine Apple parts, warranty workflows | May have stricter intake rules |
| Independent repair centre | Fast turnarounds, flexible pricing | Parts choices vary; ask about warranties |
A quick scenario: if you need a same-day screen fix and don’t have AppleCare+, an independent repair centre appointment may suit you better than waiting for a Genius Bar slot.
Send your device by mail
If you can’t visit a shop, you can send your device. Secure packing protects the phone and speeds triage when it arrives.
Back up, disable Find My iPhone, and erase the device. Remove the SIM card and any Apple Wallet cards from the device beforehand. Wrap the phone in bubble wrap, place it in a sturdy box, and include your contact details, fault description, and repair request authorisation. Turnaround depends on courier time and parts availability.
Packing tips
- Double-box for long routes or extreme temperatures.
- Avoid loose accessories that can scratch the device.
- Photograph the device before sealing the parcel.
Protect your data and Apple Wallet during the repair process
Your personal data matters. Good habits reduce risk across backup, hand-off, and restore.
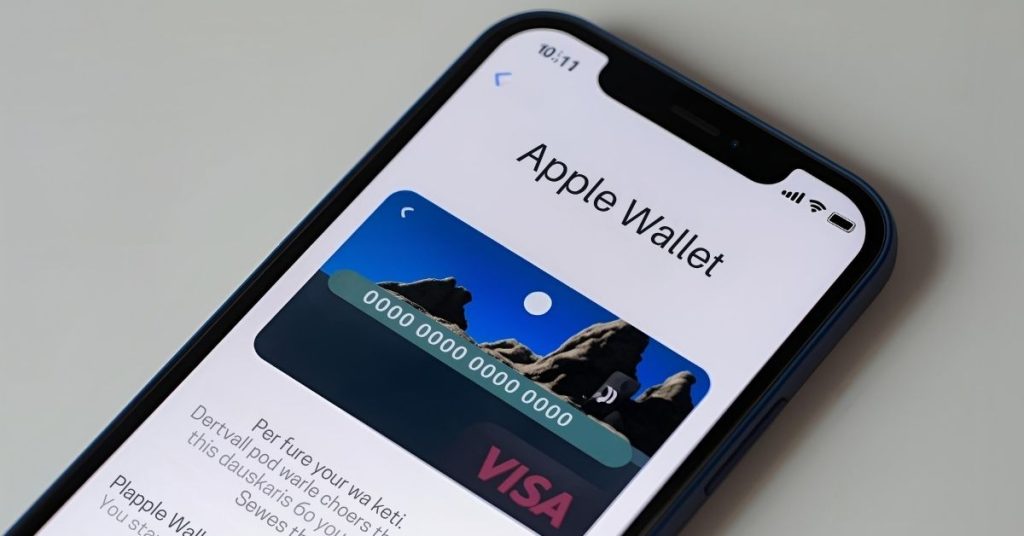
After backup, sign out of services you won’t need during the repair. Remove Apple Pay cards from Wallet; you can re-add them later. If you keep the passcode enabled, plan to unlock in store so a technician can verify the repair. Avoid sharing Apple ID passwords; enter them yourself on the keypad when needed.
Data-safety rules
- Back up first; verify the time stamp.
- Share the passcode only in person and only if required.
- Keep your Apple ID confidential; type it yourself when prompted.
A quick decision guide: if you’re mailing the phone or requesting device replacement, always erase all content and settings before shipping.
Price, warranty and AppleCare+ considerations
Costs depend on the part, model, and whether warranty or AppleCare+ applies. Independent shops and authorised providers may offer different price structures and terms and conditions.
Check your Apple Limited Warranty status via Apple Support before booking. Ask the repair centre for a written estimate and whether genuine Apple parts or high-quality compatibles will be used. Clarify what happens if additional faults are found and whether additional fees may apply. Keep your receipt for any future claims.
What to confirm upfront
- Parts type (genuine Apple parts vs compatible) and warranty period.
- Final price range, deposit rules, and approval thresholds.
- Data handling policy and liability limits.
When this may not be the right fit
If your iPhone shows signs of malware or a complex software issue, a clean restore may solve it without hardware repair. If the device has severe liquid damage and you haven’t backed up, opening it can accelerate corrosion; you might prioritise data recovery first. If you hold active AppleCare+ and want claim processing, booking an Apple Store or authorised service provider could be a better path.

Think twice if
- You can’t turn off Find My or verify Apple ID access.
- You need forensic-level data preservation.
- You require an AppleCare+ excess claim processed on the spot.
How to judge if you need this now or later
Book now if the fault affects safety, power, or connectivity. Delay briefly if you’re completing a backup or waiting for critical files to sync to iCloud.
Repair timing cues
- Do it now: Battery swelling, device overheating, no charging, repeated shutdowns.
- Do it soon: Spider-web cracks, weak battery health below ~80%, camera focus failures.
- Can wait briefly: Cosmetic scuffs, minor scratches with a screen protector in place.
A quick scenario: if the battery shows swelling or the screen is lifting, power off and visit a repair centre immediately.

Where this connects to device care next steps
Good preparation dovetails with ongoing device care. After service, restore your iPhone from iCloud or iTunes, re-enable security, and review charging habits to extend battery life. Consider a protective case and a quality charger to reduce future repair risk. If you also need iPad or Apple Watch repairs, bring them along so a technician can assess everything in one visit.
Next steps
- Restore your iPhone, then enable Face ID/Touch ID and Find My.
- Add Apple Pay cards back into Apple Wallet.
- Book iPad or Apple Watch checks if they share similar faults.
Frequently Asked Questions
Ready to get your iPhone repaired?
Book with Fix My Mobile now, or call our team for quick triage and scheduling.


